How to install Ghost Windows Xp Professional SP3
How to step-by-step install Ghost Windows Xp Professional SP3.
Step 1: Download the compressed file ” Ghost Windows Xp Professional Sp3 Free Download.zip” at
http://www.obd2vip.com/html/ghost-windows-xp-professional-sp3-free-download-and-installation-6476.html
Step 2: Uncompress it
Step 3: Record the ISO file into the CD.
Step 4: Insert CD into CD-ROM

Step 5: press the POWER button to turn on the computer


Step 6: press F12 key, the computer enter into setup menu, Start booting from DVD.


Step 7: choose the option ” A: setup ghost xp3 English on C: drive. ”

Step 8: the system starts to automatically install as the following shows.

 Step 9: after the computer reboots, it will start the driver configuration.


Step 10: the computer reboots.


Step 11: after the system setup succeeds; one dialogue box appears and named “Conver NTFS”, the content is “soon restart and convert the system CD into NTFS format?” Click “Yes” to confirm.

Step 12: NTFS conversion is ongoing.

Step 13: change the system language to English (United States) as the following shows.


(Both “Regional Options” and “Advanced” Language need to reset as English (United States)
Notes:
If your computer failed to install Ghost Windows Xp Professional Sp3, try another one computer, advice you better use Dell D630.
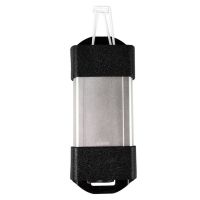
About 80% of our supplied products need to run with Ghost Windows Xp Professional Sp3, I.E FGTECH, kess v2, ktag, Renault Can clip, VAS5054A, Toyota IT2.
Save
Save
Save
- US$4.99 / piece
- US$42.99 / piece
- US$2,499.00 / piece
- US$39.00 / piece
- US$185.00 / piece
- US$21.99 / piece
- US$79.00 / piece
- US$159.00 / piece
- US$12.99 / piece
- US$50.00 / piece
- US$11.99 / piece
- US$27.99 / piece
