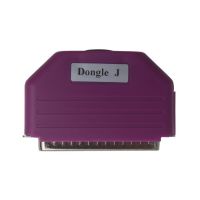
BMW E/F Scanner to Reset BMW FEM/BDC Mileage Guide
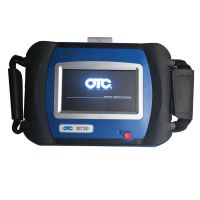
BMW Explorer E/F scanner have the function to reset or correct mileage for BMW FEM/BDC.And the main procedures as below:

The reset of the FEM / BDC is divided into several stages
1 Preparation of FEM / BDC thru OBD
2 Preparation of FEM / BDC using programmer (Reading BACKUP)
3 Programming FEM / BDC with BMW-Explorer via OBD
4 Write back BACKUP EEprom with the programmer
5 Write BACKUP coding (CAFD) via OBD
6 Mileage reset thru OBD
Step 1:
Remove the instrument panel (KOMBI) from the vehicle and use the programmer to edit the mileage.Further it is necessary to perform a quick test , go to the FEM / BDC and click the “Reset mileage” button,The program will check for a supported version of the unit,prepare the unit for the next procedure, and will display the message “Read Eeprom and upload in calc”.
DO NOT CLOSE THE CALCULATOR WINDOW AND THE PROGRAM !!!!!
Step 2:
Remove the FEM / BDC unit as described HERE. Disassemble the FEM / BDC unit as described in THIS SECTION.
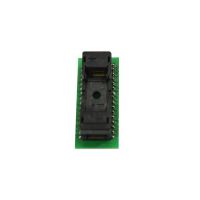
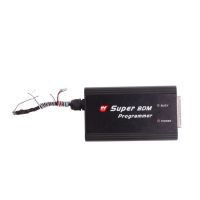
Read 95128 Eeprom (pictured in the upper right corner) using programmer
(Orange Xprog or others that supports EEprom 95128/95256).
Download Eeprom into BMW-Explorer, load Eeprom 95128/95256 and save Eeprom and write it back into the FEM / BDC.
Step 3:
Install the unit on the car in the reverse order of removal, and connect BMW-Explorer via OBD.The car probably will not respond to the key, do not get scared!
Connect to FEM, press “Reset mileage”, Explorer will propose to program the FEM / BDC, agree and wait for the programming to finish.
After successful programming, the program will write to you “Return the saved original Eeprom”, then remove FEM again and using programmer, return the previously read contents of EEprom 95128. Then you can install the unit back to the car.
Step 4:
Write BACKUP coding (CAFD) via OBD
Step 5:
Go into the FEM / BDC control unit with BMW-Explorer and press “reset mileage” button and after 3-5 seconds mileage will be successfully reset.
Install the instrument panel (KOMBI) with the edited new mileage
Sometimes it is possible that after the last manipulation the FEM / BDC will stop responding to the diagnostics, then you need to flash this EEprom into the unit and program the unit with Esys or ISTA-P and start the unit preparation from step 1.
P.S: Follow the instructions and save your time.
Supported ECU FEM:
swfl_0000155e_004_102_030, swfl_0000155e_004_102_040
swfl_0000155e_004_103_030, swfl_0000155e_004_104_040
swfl_0000155e_007_102_010, swfl_0000155e_008_101_030
swfl_0000155e_008_101_050, swfl_0000155e_008_101_070
swfl_0000155e_011_102_020, swfl_0000155e_012_104_010
swfl_0000155e_012_200_030, swfl_0000155e_014_102_040
swfl_0000155e_015_100_020, swfl_0000155e_015_102_020
swfl_0000155e_015_152_030, swfl_0000155e_015_154_010
swfl_0000155e_016_106_030, swfl_0000155e_016_112_010
swfl_0000155e_016_114_020, swfl_0000155e_017_110_030
Supported ECU BDC:
swfl_00002419_005_016_130, swfl_00002419_005_016_140
swfl_00002419_005_017_092, swfl_00002419_005_018_031
swfl_00002419_005_019_040, swfl_00002419_005_019_101
swfl_00002419_005_019_120, swfl_00002419_005_028_060
swfl_00002419_005_028_160, swfl_00002419_005_028_170
swfl_00002419_005_028_245, swfl_00002419_005_031_110
swfl_00002419_005_031_200, swfl_00002419_005_042_030
swfl_00002419_005_042_050, swfl_00002419_005_042_070
swfl_00002419_005_118_030, swfl_00002419_005_118_050
swfl_00002419_005_118_140, swfl_00002419_042_100_040
swfl_00002419_052_010_030, swfl_00002419_052_030_010
swfl_00002419_052_040_010, swfl_00002419_061_010_030
swfl_00002419_062_010_020, swfl_00002419_071_010_040
- US$979.00 / piece
- US$17.99 / piece
- US$25.99 / piece
- US$27.99 / piece
- US$109.00 / piece
- US$549.00 / piece
- US$3.99 / piece
- US$29.99 / piece
- US$55.00 / piece
- US$319.00 / piece
- US$199.00 / piece
- US$26.99 / piece
